
The Switch Mode Power Supply (SMPS) is an essential component in computers, providing power to various internal parts. However, there are times when you may need to start an SMPS without connecting it to a motherboard. This can be necessary for diagnostic purposes or to power other equipment. In this article, we will guide you through the step-by-step process of starting an SMPS without a motherboard, ensuring your safety and the proper functioning of your electronics.
Understanding SMPS and Its Functionality
Before diving into the process, it’s essential to understand what an SMPS does and why it’s crucial in modern electronics. Unlike linear power supplies, SMPS uses a high-speed switching transistor to convert electric power efficiently. This not only saves energy but also reduces the heat produced.
Typical Uses of SMPS:
- Computers
- Telecom Equipment
- Industrial Applications
- Consumer Electronics
Tools and Materials Needed
The following tools and materials are necessary to start an SMPS without a motherboard:
- Paperclip or a piece of wire
- SMPS Unit
- Power source (wall outlet)
Steps to Start an SMPS Without a Motherboard
Step 1: Safety Precautions
Your safety is paramount. Before proceeding, make sure to disconnect all power sources and wear appropriate safety gear such as insulating gloves.
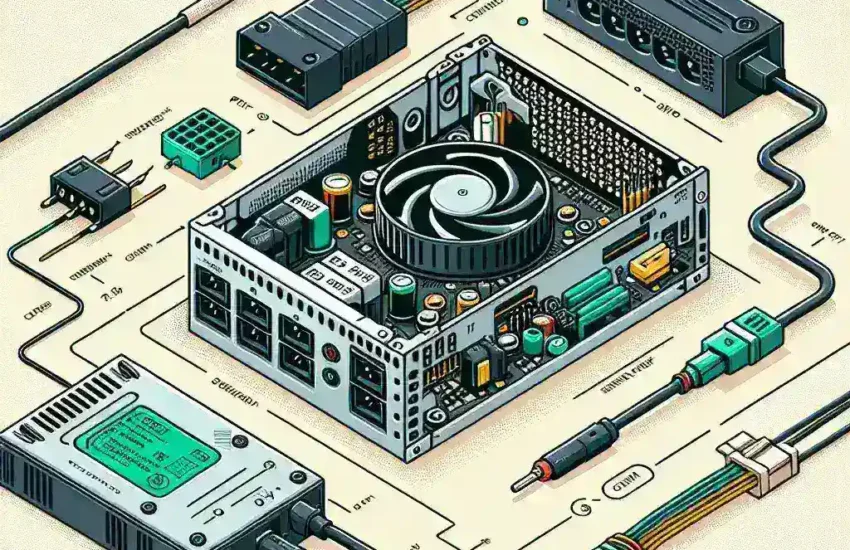
Step 2: Locate the 24-Pin ATX Connector
Identify the 24-pin ATX connector on your SMPS. This is typically the largest connector and provides power to the motherboard.
Step 3: Short the Green and Black Wires
Using a paperclip or a piece of wire, short the green wire (which is the Power-On wire) to any black wire (ground). This step simulates the motherboard’s signal to power on the SMPS.
Table: Pinouts of 24-Pin ATX Connector
| Pin Number | Wire Color | Function |
|---|---|---|
| 1 | Orange | +3.3V |
| 2 | Orange | +3.3V |
| 3 | Black | Ground |
| 4 | Red | +5V |
| 5 | Black | Ground |
| 6 | Red | +5V |
| 7 | Black | Ground |
| 8 | Grey | Power Good |
| 9 | Purple | +5V Standby |
| 10 | Yellow | +12V |
| 11 | Yellow | +12V |
| 12 | Orange | +3.3V |
| 13 | Blue | -12V |
| 14 | Green | Power-On |
| 15 | Black | Ground |
| 16 | Black | Ground |
| 17 | Black | Ground |
| 18 | White | -5V |
| 19 | Red | +5V |
| 20 | Red | +5V |
| 21 | Red | +5V |
| 22 | Black | Ground |
| 23 | Black | Ground |
| 24 | Orange | +3.3V |
Step 4: Plug in the SMPS
Once the green and black wires are shorted, plug the SMPS into a power source. A functional SMPS should activate, indicated by the fan spinning or an LED indicator lighting up.
Step 5: Verify Power Outputs
Use a multimeter to check the voltages at different pins of the connector to ensure that the SMPS is supplying the correct voltages (+3.3V, +5V, and +12V).
Troubleshooting Common Issues
If the SMPS does not turn on, follow these troubleshooting steps:
- Check the Connection: Ensure the paperclip or wire is securely shorting the correct pins.
- Inspect the Power Supply: Look for any visible damages or burnt components.
- Test with Another Power Source: Sometimes, the power outlet could be faulty. Try a different one to rule out this possibility.
Applications of Starting an SMPS Without a Motherboard
Starting an SMPS without a motherboard can serve several purposes:
- Testing: Verify if the SMPS is functional before installing it in a system.
- DIY Projects: Use the SMPS to power other electronics projects or devices.
- Emergency Power Supply: An old SMPS can be repurposed to act as a reliable power source for other equipment.
Conclusion
Starting an SMPS without a motherboard is a straightforward process that can be immensely useful. By following the outlined steps and taking appropriate safety precautions, you can activate your SMPS for various applications. This not only helps in troubleshooting issues but also extends the utility of your SMPS for other electronic projects.