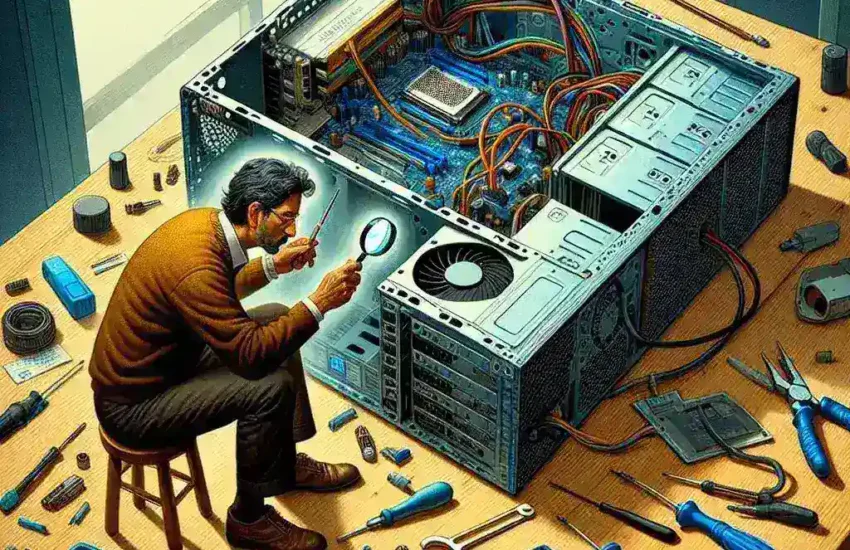
Dealing with network adapter issues following a Windows update is a common problem that can disrupt your internet connectivity. This comprehensive guide will help you diagnose and resolve issues to get your network adapter functioning properly again.
Common Symptoms of Network Adapter Issues
Understanding the typical symptoms can help you identify whether the issue lies with the network adapter itself. Common symptoms include:
- No internet connectivity
- Network adapter not visible in Device Manager
- Limited connectivity or frequent disconnects
- Error messages related to the network adapter
Symptom Overview
| Symptom | Description |
|---|---|
| No internet connectivity | No access to the internet; unable to browse websites. |
| Network adapter not visible | Network adapter is missing from the Device Manager. |
| Limited connectivity | Internet connection drops frequently or is very slow. |
| Error messages | Error prompts related to the network adapter driver or hardware. |
Steps to Troubleshoot Network Adapter Issues
1. Restart Your Computer
Step-by-Step:
- Click on the Start Menu.
- Select Power, then Restart.
- Wait for the computer to reboot completely.
2. Use Windows Network Troubleshooter
Windows provides a built-in troubleshooter to diagnose network problems.
Step-by-Step:
- Go to Settings by pressing Windows + I.
- Select Update & Security.
- Click on Troubleshoot in the left panel.
- Select Internet Connections and click Run the troubleshooter.
- Follow the on-screen instructions.
3. Check the Network Adapter Settings
Step-by-Step:
- Open Device Manager by pressing Windows + X and selecting Device Manager.
- Locate the Network adapters section and expand it.
- Right-click on your network adapter and select Properties.
- Ensure that the device is enabled under the Driver tab.
4. Update or Rollback Network Adapter Driver
Step-by-Step:
- Open Device Manager.
- Expand the Network adapters section.
- Right-click on your network adapter and select Update driver.
- Choose Search automatically for updated driver software and follow instructions.
- If the problem persists, go back and select Properties, then the Driver tab, and click on Roll Back Driver.
5. Reinstall the Network Adapter Driver
Step-by-Step:
- Open Device Manager.
- Expand the Network adapters section.
- Right-click on your network adapter and select Uninstall device.
- Restart your computer to automatically reinstall the driver.
6. Reset Network Settings
Step-by-Step:
- Go to Settings by pressing Windows + I.
- Select Network & Internet.
- Scroll down and click Network reset.
- Click Reset now and confirm.
7. Check for Windows Updates
Step-by-Step:
- Go to Settings by pressing Windows + I.
- Select Update & Security.
- Click Check for updates and install available updates.
Advanced Troubleshooting Steps
1. Use Command Prompt for IP Configuration
Step-by-Step:
- Open Command Prompt as an Administrator by pressing Windows + X and selecting Command Prompt (Admin).
- Type
ipconfig /releaseand press Enter. - Type
ipconfig /renewand press Enter. - Type
ipconfig /flushdnsand press Enter.
2. Check Network Adapter Hardware
If you’ve attempted all software-related fixes and are still facing issues, there may be a hardware problem with the network adapter.
Step-by-Step:
- Make sure the network adapter is properly seated (for desktop computers).
- Try using a different network adapter if available.
- Test the network adapter on another computer to determine if it is defective.
Conclusion
Troubleshooting a network adapter that stops working after a Windows update can be frustrating, but following these steps can help you diagnose and fix the issue. If none of the solutions work, it might be worth consulting with a professional technician to rule out hardware failure.

