
In today’s world, where wireless technology has become an essential part of our daily lives, Apple’s AirPods stand out as one of the most popular choices for music lovers and professionals alike. However, the tiny size of AirPods makes them easy to misplace. Fortunately, Apple provides the option to replace individual AirPods. This article will walk you through simple steps to connect a replacement AirPod to your existing setup.
Requirements for Replacing an AirPod
Before you begin the process of connecting your replacement AirPod, ensure you have the necessary equipment and software:
- Your iPhone or iPad with the latest iOS version
- The AirPod case
- The replacement AirPod
- An active internet connection
Steps to Connect a Replacement AirPod
Step 1: Check Compatibility
Make sure that the replacement AirPod is compatible with your existing AirPod (both should belong to the same generation). If they are from different generations, they won’t work together, and you’ll need to get the right version.
Step 2: Charge Both AirPods
Place both the new and the old AirPod in the charging case. Let them charge for at least 15 minutes to ensure they have sufficient battery life. This step is crucial as it helps in the syncing process.
Step 3: Reset Your AirPods
Open the lid of the charging case and hold down the setup button located at the back of the case for about 15 seconds. The LED light on the case will flash amber and then white, indicating that your AirPods have been reset.
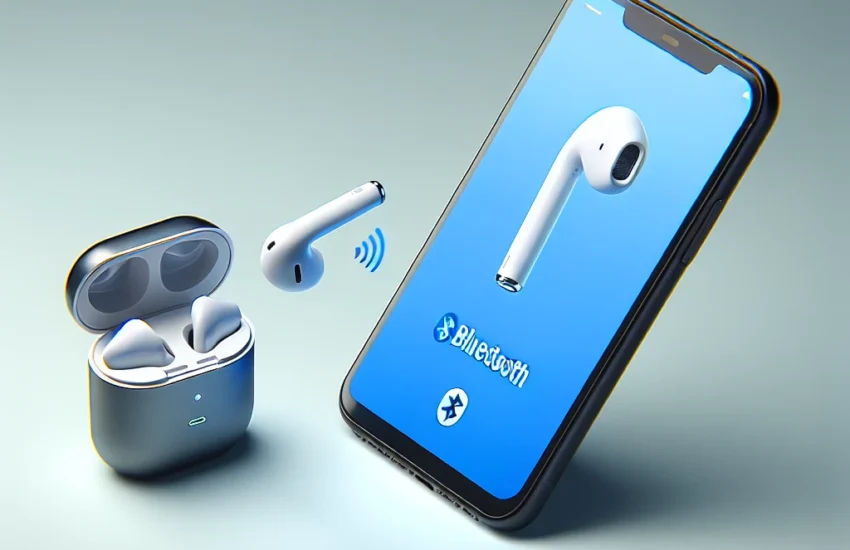
Step 4: Pair the Replacement AirPod
Now, your AirPods are ready to be paired with your iPhone or iPad. Open the case lid and keep it close to your iPhone/iPad. A setup animation will appear on your screen, prompting you to connect. Follow the instructions to complete the pairing process.
Step 5: Test the Connection
Once the replacement AirPod is paired, take both AirPods out of the case and place them in your ears. Play some music or make a call to check if both AirPods are functioning correctly.
Common Issues and Solutions
Issue 1: AirPods Not Syncing
If the AirPods are not syncing, try repeating the resetting and pairing steps. Additionally, ensure that your iPhone’s Bluetooth is turned on and that you are running the latest iOS version.
Issue 2: Only One AirPod Working
Make sure that both AirPods are adequately charged. If the problem persists, you may need to reset and pair your AirPods again.
Issue 3: Sound Distortions
If you experience sound distortions, clean your AirPods and the charging case. Dust and debris can interfere with the connection and sound quality. You can use a soft, dry cloth to clean them.
Tips for Maintaining Your AirPods
- Regularly clean your AirPods and the charging case to avoid buildup of dirt and debris.
- Store your AirPods in the charging case when not in use to prevent loss and damage.
- Avoid exposing your AirPods to extreme temperatures, as this can affect battery performance.
- Update your iOS to the latest version to ensure optimum performance and compatibility.
Conclusion
Connecting a replacement AirPod to your existing setup is a straightforward process if you follow these simple steps. By keeping your AirPods charged, reset, and paired correctly, you can enjoy seamless audio experiences without any interruptions. Should you encounter any issues, refer to the troubleshooting tips to resolve them quickly. With proper maintenance, your AirPods will continue to deliver exceptional sound quality for years to come.